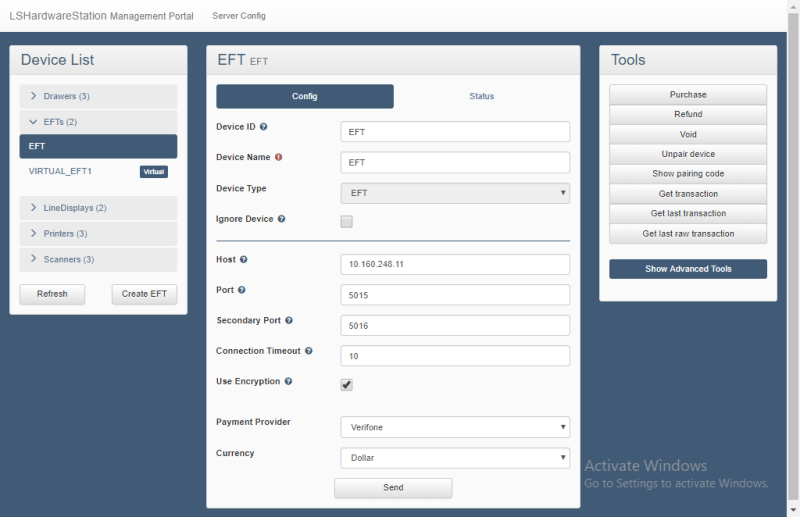
Setting up an EFT device for the LS Central Web POS requires that you have set up the LS Hardware Station service and that it is running.
To set up an EFT device you must first create the device in the Management Portal, and then finish the setup in Business Central:
- Open the Management Portal in a browser. The default path is localhost:8088
- Click the Create EFT button to create a new EFT connection.
- In the ID field in the pop up dialog, type in an ID for your device.
- In the Type field, select if you are using LS Pay or a custom plug-in.
- If you are using LS Pay, leave the implementation .dll path as it is by default. Otherwise, point to the location of your custom .dll.
- Leave Implementation Type default value as it is if you are using LS Pay, otherwise add your own type.
- Select your Payment Provider.
- Click the Create EFT device button.

When you have created your EFT device, some configuration is needed for it. For example an IP Address of the device or other information that the payment provider requires for a connection.
When you have finished setting up in the Management Portal, open Business Central and set up your Hardware Profile as described in How to: Add Devices to a Hardware Profile. If you want to add your EFT device manually in the Hardware Profile the steps required are:
- Open the Hardware Profile in use.
- On the EFT FastTab, change the value in the EFT field from None to External.

- Scroll down to the POS EFTs FastTab.
- Click the Look-up button in the ID field, and select New to create a new POS EFT Card.
- Fill in the fields on the EFT Card:
- ID and EFT Device Name should be the same as in the Hardware Station's Management Portal, unless the ID was changed after the EFT connection was created. The EFT Device Name cannot be changed.
- The default value in the EFT Server Host field is localhost:8082
See also
How to: Use EFT Card Type Handling in LS Central
Installing the LS Hardware Station
LS Hardware Station Troubleshooting
How to ... in LS Hardware Station
How to: Configure the Custom Implementation DLL and Type